4.27.2012

How to Make an Animated Gif

The other day I posted about my latest adventures in packing because I'm moving (yes, I'm still so excited). At the beginning of the post I used what's called an animated GIF. Here it is if you missed it:


I got a lot of questions/comments about it, so I thought I'd write a little post of explanation.

What the heck is an animated GIF?
"An animated GIF is a graphic file type that is composed of many different images on top of each other. Together these images are compressed and work together, creating movement, and give the appearance of a mini movie. GIF stands for Graphics Interchange Format." - Wendy Russell via About.com

You can pronounce it like"giff" or like "jiff," but apparently the creators said "jiff." (This seems to be a point of contention in nerd land.)

How do you make one?
The first step in making an animated GIF is taking (or making) a bunch of pictures. For my packing GIF, I set up my camera and tripod then took a photo each time I filled my box a little. ProTip: Keep your frame of reference as consistent as possible. If your backdrop moves wildly, the animated effect could be lost and you'll give your viewers motion sickness!

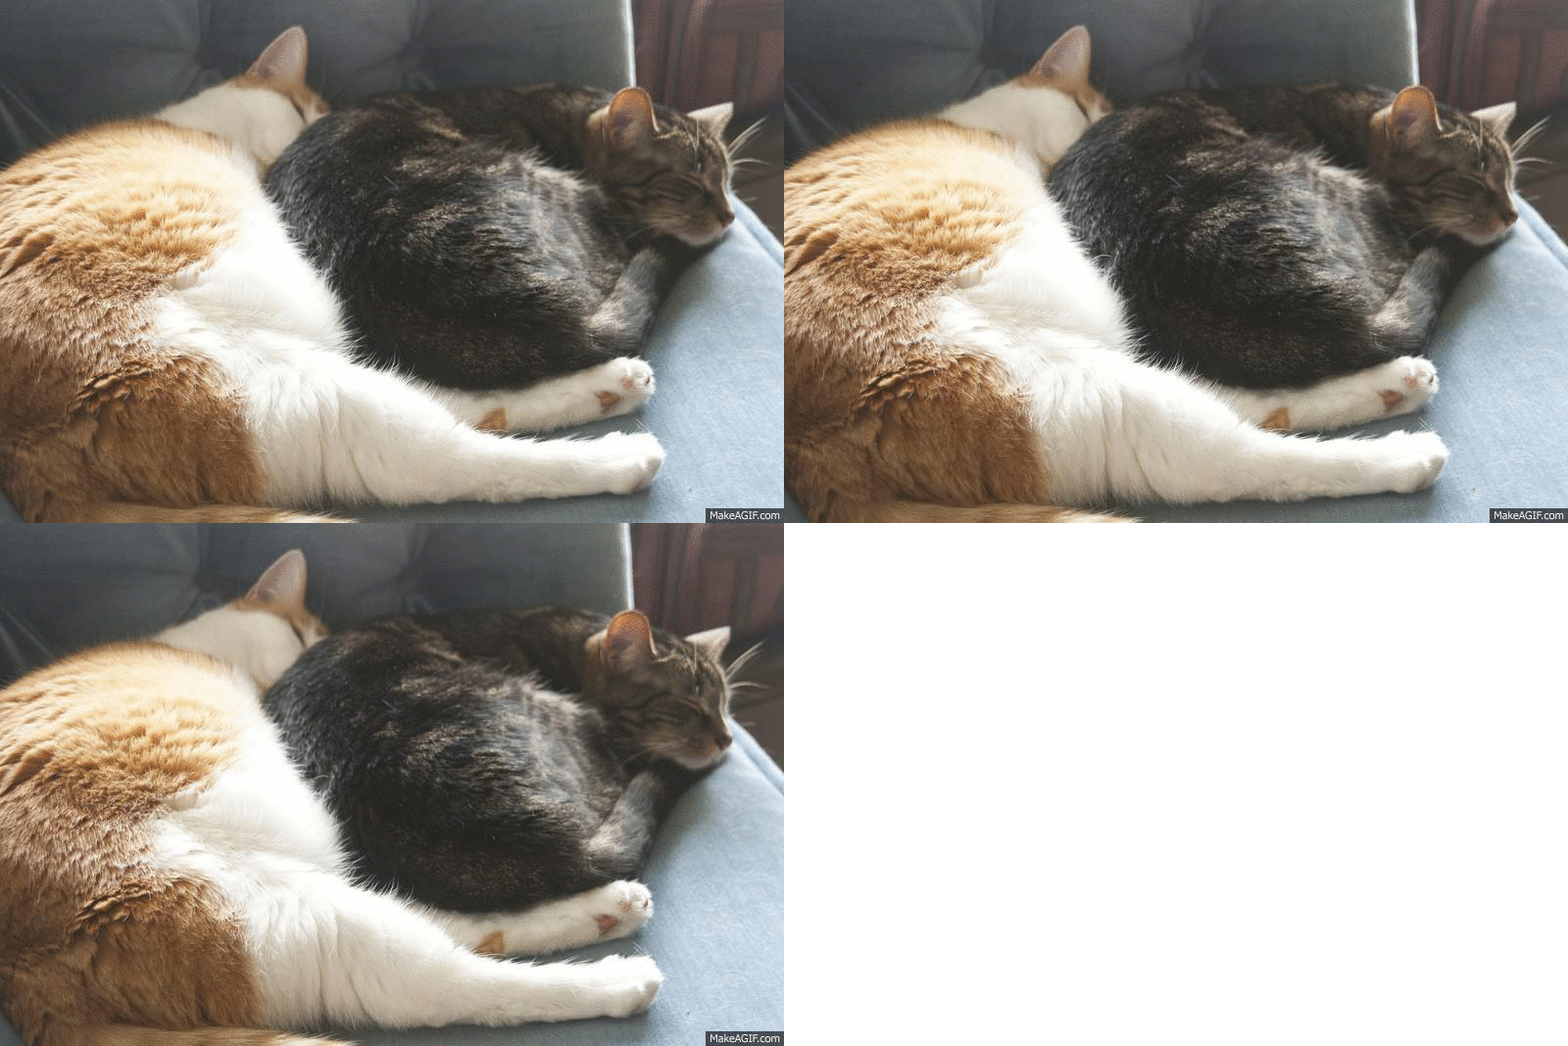
Here are all my packing photos without the animation:


Once your photos are ready, you can use many different programs to animate them. I usually use makeagif.com because it's free and super easy, but you can also use photoshop (here's a tutorial from Pugly Pixel), or many other apps/programs.

Oh my gosh I'm so excited that I'm going to use them ALL THE TIME!
One thing to consider before you go GIF crazy - some people find animations very distracting, even to the point where they won't stay to read the rest of your content. Be careful not to overload your website or blog with flashy images because they could drive your readers away! Try to stick to GIFS that have minimal movement or really help illustrate the point you're trying to make.

7igLqD on Make A Gif, Animated Gifs

If you want to see animated GIFs used beautifully in the blogosphere, I highly suggest you check out Kristin's blog, K. She has this amazing knack for making GIFs that enhance the energy and voice of her posts without being annoying.

Whacha think? Something to try?? If you do, be sure to leave a link in the comments - I'd love to check your GIF out!

4.25.2012

Yarn Wrapped Pinecones and Wedding Centerpiece Thoughts

I'm officially getting married to my best friend in October and, as you can imagine, I can't stop thinking/dreaming about the wedding decorations. Weddings are expensive and I'm kind of a control freak, so I'm planning on making a lot of the decorations myself.

When I ran across yarn wrapped pinecones on Family Chic, I knew I had a center piece contender!


Literally just pinecones wrapped in yarn, these suckers are cheap and easy - both important qualities for a wedding DIY.


I'm 99.9% sure my colors are going to be navy blue and white with pops of natural yellows and greens. I'm also thinking my centerpieces will feature a lot of knick knacks from my apartment since a) I love them and b) they're free.

So naturally, I've started experimenting!


I really love the mixed whites of the coral and yarn - both really organic looking, but a mix of soft and hard. The mixed metals feel collected and the navy blue gives a high contrast background.


I could also see adding a little lace or crochet in thar, but it might make things look a little busy...


Obviously, every center piece will be a little different if I take this route, but that feels really special to me. What do you think?

4.24.2012

Meet the New Place

Ladies and Gentlemen, I'd like to introduce you to.... [[drum roll]]... my new apartment.


As I promised yesterday, I'm going to deluge you with poorly taken pictures of my new place. If my last apartment was a white box, you might call this place my beige box. For some reason It was hard to represent the colors accurately in these photos, but, just so you know, the carpets are tan and the walls are light cream. In these photos, it all looks a little more pink than it really is.

Also, I'm still working out a lot of details for how to decorate this beast. Please feel free to offer advice.


This apartment boasts two lovely outdoor spaces. Above and below you'll see the first of them - a balcony porch that comes off of our living room. It's a liiiitle oddly shaped, but there's enough room for lots of plants and maybe a small bistro table for brunch or nightcaps. And that satellite dish? Yeah, that's going to be gone - ick.


This vast cavern is our living room. It gets TONS of natural light and even has a fireplace. You can bet your buttons that I'll be painting this room. I'm still mulling over what color to go for, so feel free to make suggestions.


The kitchen!! I'm so thrilled with the condition of this kitchen. Great neutral counters and cabinets will really let me find some sort of style for the space. In a perfect world the refrigerator and oven would match, but hey this is a rental and I have a dishwasher, so I'm not going to complain. (PS I can't spell the word refridgerator to save my life. See that?)


We also have a dining nook, so I can bring our vintage dining table out from under the bed. Yes, that's where we've kept her since there's no room for a dining table in our current place. Sadness. Photo Tip: See how it looks super blue outside and normal inside? That's a great example of how mixed light can affect your photos. To the camera, the sunlight is bluish and the dining room light is yellowish. You can adjust your settings for one or the other, but one will always look wonky. That's why it's best to avoid mixed light in your photos.


Here's our second outdoor space right off the kitchen. Very private, this space is definitely going to be cozy and perfect for hanging out with guests. I'll need to figure out some sort of cover for those ugly spigots in the middle of the floor, but that shouldn't be too hard.


When you go to head upstairs, this little half bath is right at the bottom. Heading upstairs is our WASHER AND DRYER. There's even a little storage! What? Did I die and go to heaven? This is the definition of bliss people.


The next few photos aren't glamorous, but hey this is a deluge right? This room is going to be my craft room. Can you say EeeeeEEEeeeee??? I don't really have too many solid ideas for decorating it, probably because I'm just over the moon that I'll even have one. It's not very big, but it's plenty of room for me :)


Photo Tip: These two photos were taken with only natural light. See how the outside and inside light match? In my opinion, the lighting is also just more interesting overall. Natural light for the win!


The second small bedroom will be Tim's office and occasionally the guest bedroom. It's way too small for a bed and a desk, so we're still trying to work the space planning out on that one. Any ideas?


Those two doors (still part of Tim's office) lead to a closet and a bathroom...


...this bathroom here on the left. It has an entrance to the hallway and bedroom, making it the perfect guest bathroom. Dear Person-Who-Designed-This-House, thank you for thinking that one through! The bathroom below on the right is our master bath. Can you say double sinks? Counter space? Oh yeah.


And this is our master bedroom. It's also HUGE - like comparable to the living room huge. I'm honestly a little unsure of how to fill it, but I'm sure we'll figure something out.


Also, his and hers closets. One of them is a walk in. Thank you again Mr./Ms. Person-Who-Designed-This-House. Thank you.


Last, but not least, the garage. There's really nothing special about the garage except that we have one now. Hello construction projects and safe parking for Tim's cute VW Bug.


At one point between yesterday and today I had grand plans of drawing out a floor plan for you that would help this post make a little more sense. Well... it didn't happen. BUT, if you think that would be really really interesting for you or helpful, let me know and I'll get on it.

Epic post OVER.

4.23.2012

Packing Up!

I'm just so excited to share this you don't event know...

TIM AND I ARE MOVING!!!!!


If you follow insideways on instagram or facebook, you're in the know, but for everyone else AHHHH SO EXCITED!!!!

When we moved from Boston to San Diego for me to go to school, Tim and I made the strategic decision to live in grad housing for several reasons: 1) it's so cheap 2) it would let me integrate into school quickly and 3) we would be able to get to know the area before committing to a year lease (grad housing is month-to-month). It was always a temporary solution, but I think we really made the best of it. A before and after picture for fun? Yes, I think so.


Mmmhmmm. That never fails to make me happy. (More photos here, for those of you so inclined.)

To get the apartment search started, Tim and I made a list of living space "wants" and "ohmygoshneeds" knowing that we would have to compromise a little, because no place is perfect. About a month ago, we found a winner and now.... It's OURS. We're moving. May 1st. Zomygosh!

Wanna see it?

I thought so.


I should say now that this post is going to be a two parter. There's just waaaaay to much to tell you and I took an ungodly number of photos of our new place for you to see. We'll start with the basics and tomorrow I'll deluge you with the photos.

The Deets:

1. We're moving from La Jolla to Oceanside, CA. We'll be a half mile from the highway (in a good for travel way, not a noisy way) and only a mile from the beach. Oceanside is amazing for thrifting and I'm just beside myself in love with the area. Also, Tim's daily work commute will be 1.25 hours shorter every day. I love him, he's been commuting 3 hours *sadface!*, and I'm so glad the new place will make things easier for him.

2. It's a detached townhouse with a garage, so now Tim and I can rock out and DIY with crazy power tools guilt free.

3. We'll be luxuriating in 3 bedrooms 2.5 bath. That is, I GET A CRAFT ROOM and WE HAVE AN ATTACHED MASTER BATH. Ahem sorry for yelling.

4. We can paint. Seriously, you have no idea. We can paint. It's going to be magical.

5. We have a dish washer for the first time in 2 years.

6. There's a washer and dryer. When we first toured the house we saw the washer/dryer and we're like "oh gosh that's going to be so amazing." The current tenant said, "Yeah, having laundry on the second floor is really really nice." Haha, we didn't even think of that, we were just happy not to walk to another building!


I am literally getting excitement overload while I write this. It must be strange for you because I probably sound like a crazy person... oops ;)

Tomorrow there will be pictures - badly taken pictures because I was so excited I forgot to adjust my aperture, but pictures nonetheless. And I will probably describe them to you in a way that is too wordy. Sorry in advance.

Until then, I'm busy PACKING!!!!

4.16.2012

Mini Vacation

Hello hello! I guess "vacation" isn't a very accurate description for this... Anywho, a very big and major concert coming up on Saturday April 21st has decided to consume my life this week. (For those of you new to insideways, I'm a classical cellist by trade.) Instead of writing crummy "filler" posts, I've decided it's best for insideways to take a little bitty vacation for the week.


In the mean time....

1. My apartment is part of Apartment Therapy's Small Cool Contest. Wanna vote for me?

2. If you want to see a bit of what I'm playing, this clip has a few excerpts from the big piece I'm working on. Check out minute 6:00 to see the cello-tastic part.


Crazy huh? Yep, crazy and crazy awesome :)

See you in a week!!!

4.13.2012

Photography Landmark: how I got here

I almost hesitate to use the word photography here... maybe photo taking landmark? Because the thing is, I'm not a photographer - I have waaaay to much respect for my photographer friends to claim to be one - but I've been working hard to learn to take better photos. I'm pretty proud of the results, just saying....


Today I wanted to share the top things that have helped me get this far.


1. Knowing my camera: I know, I know grooooaaan... but learning the ins and outs of my camera has totally changed my ability to take better photos. I own a Canon Rebel DSLR which has a lot of setting options, but even knowing how to adjust little settings on my iPhone makes a huge difference. (Did you know you could tap different areas on the view screen to adjust the exposure?) If you're overwhelmed and need somewhere to start I would recommend a) figuring out how to turn off the flash and b) learning how your camera uses white balance. Trust - those two will help a ton.

2. Getting a tripod!: Oh my gosh. I got a tripod between the two couch pictures above (it was a Christmas gift). See how much more clear the image is? That's because using a tripod helps me take advantage of my camera's shutter speed options in low light situations, which let's face it, is almost every indoor light situation. If you own a camera that lets you control shutter speed, buy a tripod.

3. Finding editing software I love: For me, this was Photoshop. This might be another grooaaan moment because photoshop is so expensive, but I thought I needed to at least mention it. Photoshop has been a monumental help in my photo life - there's a reason it costs so much, super quality. If you have photoshop and you're curious, I mostly use the free Photoshop actions from Pioneer Woman to edit my photos.

4. Taking a million photos: For every photo you see on the blog, there were probably 5 others that didn't make the cut. I take SO many photos and with each one I feel myself getting more confident with my camera and creative with the composition of my photos. Practice makes perfect - there's a reason that saying is so cliche ;)

Do you have any tips that have changed your photo taking life? Share them in the comments so we can all learn together - thank you in advance!

PS. My apartment made it into Apartment Therapy's Small Cool Contest! Eeeeee!!! Take a second to check it out if you want. I'd also be so so grateful if you feel like voting for me :)

4.11.2012

Air Plants Nicely Framed

Sometimes good DIY ideas are just a matter of dumb luck. This is one of those.


Ever since I posted about finding this frame, I've planned on repainting it. This weekend I finally got around to it, and doesn't it look so much better? I used white spray paint primer and Heirloom White spray paint in a satin finish for the top coat.


But that wasn't the dumb luck part. The dumb luck was also finding an adorable air plant hanging from a twisted wire at Home Depot ($4.95). The dumber luckier part was realizing I could hang it in my newly painted picture frame!!!


See that little hook there? It fits just right! I'm sure it would be downright easy to make your own twisted wire to hang an air plant - just use copper wire and your nimble fingers. UPDATE: A very thoughtful commenter shared that copper is deadly to air plants! Actually, my air plant died a week or so after I posted this and I couldn't figure out why. It was probably the copper wire! A wire hanger would still be really cute to hang an air plant, just don't use a copper one. I'm kind of annoyed at Home Depot for selling me an air plant all wrapped up in a substance that was poisonous to it :(


And so you don't have to scroll up again to see the final product...


Yep. I love it. What do you think?

4.10.2012

Pretty Small Things: never enough crochet

Well goodness, I've been having a hard time getting posts up in a timely manner recently. School has started up again and I definitely need to work on my schedule...


In more interesting news, I just so happened to make a craigslist purchase this past weekend that I'm pretty pumped about. Although... I think I'm always pumped about craigslist purchases... Anywho! After 3 weeks of craigslist stalking, I decided to pull the trigger and bought this beautiful, hand crocheted, vintage table cloth.


So granny and so awesome!!! I mean look at that pattern! Is that not the prettiest thing ever? At $30 it was a little more than I wanted to pay, but I just had to have this lovely. I'm pretty sure I'm going to use her on the bridal table at my wedding :)


What do you think? Too granny for your taste or just enough handmade to make your drool?

4.08.2012

Giveaway Winner!!

Hello hello! I hope you're having (or had) a very wonderful Sunday. I let Maggie venture onto our porch for a few minutes and I think she fell in love.


We have a winner for the Bella Pop giveaway wooo!!!


Congratulations Cate! I'll be contacting you shortly with the details.


To everyone else, hope you had a few moments to relax in your special sunny spot today!

4.06.2012

Crafty Skills: Embroidery

There's no doubt, I'm completely obsessed with learning new crafty techniques right now. You wouldn't believe the list of "want to learns" I have! Normally, I might find a list this long overwhelming, but it's just so fun to try everything that I don't care how long it is.


Learning to embroider has definitely been high on the list, so this week I took a little time to dable. Oh how I love dabbling :)


To get started, I tried some different stitches from The Trouble with Crafting tutorials via Needlework. The hardest stitch for me was the french knot, but I think I'm getting the hang of it!

Then I tried my hand at stitching a little message. Being able to embroider text is seriously one of my life goals, just FYI :)


I have to say, I'm pretty pumped about how it turned out. I used a combination of the back stitch and the lazy daisy stitch to make my little message. I can already tell embroidery is going to be a go-to embellishment for my crafts now :)

What's on your list of crafty skills to try? Any in particular that you would like to see on insideways?