We're not big magazine readers in my household, but a certain type of floppy literature certainly hangs around my apartment quite a bit - comics. Tim is a huge comic book fan, and I have to say, it's totally adorable watching him read them on the couch.
The old style artwork is so fun and makes me super nostalgic (even though I never read comics). I wanted to make some kind of comic book storage that was just as special as they were. This is what I came up with!
It's inspired by the Hockenheim magasine and newspaper storage unit by njustudio, but I made a few changes to the design...
The biggest change was adding castors to the bottom. Now we can roll this little guy under the coffee table when Tim's not using him. With such a small apartment, every space is useable and under the coffee table is no exception!
The base is made from leftover reclaimed wood from my unfinished ikea hack project and the belts were thrifted. To be 100% honest, I'm not totally convinced I love the mixed metals of the belt buckles, but I'm going to live with it for a bit and see.
See? Fits right under there! The project took me a total of about an hour and cost maybe $10 for the belts and castors. Everything else was just sitting in my apartment - win!
Do you have a comic reader in your house? Is it you!? How do you store your books, magazines, and comics?
3.29.2012
DIY Magazine (or Comic Book) Storage
2012-03-29T18:22:00-07:00
Jennifer Bewerse
DIY|
Comments
Category:
DIY
3.28.2012
Habit Buddies!
Something really special happened after I posted about using a Practice Snake to help form good habits the other day. Turns out, there are quite a few people out there pumped to work on some new habits!
Better yet? Several of us are coming together to tackle our habits as a team!! So today I'd like to do two things, 1) introduce you to those awesome ladies and 2) invite you to join us!
So you see, people are doing all kinds of things with this little project. I'm so freaking excited!
To join forces with us, check out how the Habit Snake works here. Don't worry, you can change up the process in any way that works for you! Use the hashtag #HabitBuddies on twitter or instagram to follow everyone's progress. Feel free to email me questions, pictures of your progress, or reach out for support. Let's team up and get sh*t done!
If you want your own practice snake, you can draw one, download one here, OR, you can visit Leslie's blog for a habit elephant!!! Not kidding - it's so good :)
To end with a moment of total honesty - the first two weeks of habit forming are scientifically proven to be the toughest. At least two of the people mentioned above (myself included) have already killed a snake since we started this shindig - hah! Be sure to set goals you can accomplish and don't worry if life interferes. Practice snakes are about the journey, so enjoy it!
(Me from day 1 and 2 of my practice snake)
Leslie from Salvaged Spaces - 100 days of work on her blog
Amanda from Colorful Goth - 4 weeks of the gym/violin practice and 100 days of no clothes shopping
Ali from Internal Order - 100 days of flute practice and no clothes shopping
Brittany who's blogging all about her practice snake - 100 days of violin practice
Beth - 100 days of exercise
Heather - 100 days of piano/voice/gym/ and laundry management (epic - good luck lady!!)
Me :) - 100 days of cello practice
(Amanda and Brittany practicing)
To join forces with us, check out how the Habit Snake works here. Don't worry, you can change up the process in any way that works for you! Use the hashtag #HabitBuddies on twitter or instagram to follow everyone's progress. Feel free to email me questions, pictures of your progress, or reach out for support. Let's team up and get sh*t done!
If you want your own practice snake, you can draw one, download one here, OR, you can visit Leslie's blog for a habit elephant!!! Not kidding - it's so good :)
To end with a moment of total honesty - the first two weeks of habit forming are scientifically proven to be the toughest. At least two of the people mentioned above (myself included) have already killed a snake since we started this shindig - hah! Be sure to set goals you can accomplish and don't worry if life interferes. Practice snakes are about the journey, so enjoy it!
Category:
Habit Buddies
3.27.2012
Memory Lane: My Apartment Tours
Renting always has its drawbacks, but the best part of being a renter by far is having the flexibility to move and try different types of living situations. I dream of owning my own house all. the time. But in the mean time, I'm really grateful for the space to experiment and learn about my style!
A fully furnished four bedroom/two bath was a perfect first apartment for me. As you can see, I was really excited to experiment with paint and spent forever painting comforter-inspired boxes on my walls. Epic. I'm really not into the design now, but it helped me learn a lot about how much paint could impact a room and my mood!
Can I also say, dang my photo skills have improved...
If you want to see more (bad) photos and a crazy funhouse panoramic view of the room you can here.
At 10x10 without a closet, my second apartment was an education in space planning. I painted the walls a fresh color, used a bed with storage, and a small desk to make this space work for my lifestyle and feel bigger.
You can see I got better at adjusting my camera's white balance too hah!
More information/pics from that apartment here for the curious at heart.
My all time favorite apartment, this 1920s two family house spoiled me rotten with beautiful hardwood floors, tons of light, and all around classic charm. I feel like I really started to harness my sense of style in this place with lots of DIY and one of a kind pieces.
Photo-wise, I discovered natural light!... and a talented friend... The first two pictures are her's (Kaitlin Moreno - check her out and change your world) and the last one is mine. More totally yummy apartment photos here.
Taking a major lifestyle risk, Tim and I moved into UCSD's grad housing this past year. Opting for the flexibility it offered (a month to month lease!) as opposed to other amenities like space and a dishwasher, this was the ideal place to start out after moving across the country from Boston to San Diego.
This apartment taught Tim and I to really tough lessons: how to downsize and how to live with white walls. To be honest, the learning process has been painful, but I'm so glad we've given it a go! You can also see how slowly collecting one-of-a-kind furniture has really paid off. Even though this apartment was originally super boring, we were able to give it some pretty quick style.
All of these photos are 100% mine, and I'm feeling pretty proud of how far I've come! I'm still working out lighting and staging details, but it's all just part of the journey! More apartment pictures here.
One of the coolest things about blogging is being able to have a post like this - I can see how far I've come all in the space of one blog post! Technology, I love you.
More apartments are sure to come, and being the blabber mouth I am, I'm sure to share them!
Do you take trips down memory lane? I'd love to see pictures of the houses you've lived in - feel free to share!
A fully furnished four bedroom/two bath was a perfect first apartment for me. As you can see, I was really excited to experiment with paint and spent forever painting comforter-inspired boxes on my walls. Epic. I'm really not into the design now, but it helped me learn a lot about how much paint could impact a room and my mood!
Can I also say, dang my photo skills have improved...
If you want to see more (bad) photos and a crazy funhouse panoramic view of the room you can here.
At 10x10 without a closet, my second apartment was an education in space planning. I painted the walls a fresh color, used a bed with storage, and a small desk to make this space work for my lifestyle and feel bigger.
You can see I got better at adjusting my camera's white balance too hah!
More information/pics from that apartment here for the curious at heart.
Photo-wise, I discovered natural light!... and a talented friend... The first two pictures are her's (Kaitlin Moreno - check her out and change your world) and the last one is mine. More totally yummy apartment photos here.
This apartment taught Tim and I to really tough lessons: how to downsize and how to live with white walls. To be honest, the learning process has been painful, but I'm so glad we've given it a go! You can also see how slowly collecting one-of-a-kind furniture has really paid off. Even though this apartment was originally super boring, we were able to give it some pretty quick style.
All of these photos are 100% mine, and I'm feeling pretty proud of how far I've come! I'm still working out lighting and staging details, but it's all just part of the journey! More apartment pictures here.
One of the coolest things about blogging is being able to have a post like this - I can see how far I've come all in the space of one blog post! Technology, I love you.
More apartments are sure to come, and being the blabber mouth I am, I'm sure to share them!
Do you take trips down memory lane? I'd love to see pictures of the houses you've lived in - feel free to share!
Memory Lane: My Apartment Tours
2012-03-27T12:56:00-07:00
Jennifer Bewerse
Reveal|
Comments
Category:
Reveal
3.26.2012
Pretty Small Things: deer bust and textile
If you follow me on twitter, you might have noticed that I've been a little swamped with grading papers for the last week. I'll admit, it's been a lot and I have indeed been whiney about it. So you know what? Tim and I took the morning off.
A thrift store, antique store, and comic store (for Tim) later and I'm very excited to share two little treasures I picked up.
This adorable little textile was from a thrift store in Oceanside, CA. That's all I'm going to tell you because I'm greedy and that place is always so so crowded. I know, I'm a horrible person. I'm sorry.
She was only $2 and it has the most adorable imitation cross stitch print on her. Black and red aren't really in my decor palette, so I'm excited to work this little lady into the mix. (Yes, I anthromorphosize my things. It's a sickness.)
Then there's this little man. Yep, that does indeed mean I've once again adjusted the bits and bobs in my living room. It will never end. For $12 I was so happy to grab this little wooden deer bust.
Since it's a really nicely curated antique store and I want people to buy their stuff so they can stay in business, I'm going to spill the beans: Michelle's Antiques Etc.
Oh the carving details... *sigh of content*... Well, I'm going to go fill a few nail holes that resulted from this little adjustment!
Find anything neat this weekend?
A thrift store, antique store, and comic store (for Tim) later and I'm very excited to share two little treasures I picked up.
This adorable little textile was from a thrift store in Oceanside, CA. That's all I'm going to tell you because I'm greedy and that place is always so so crowded. I know, I'm a horrible person. I'm sorry.
She was only $2 and it has the most adorable imitation cross stitch print on her. Black and red aren't really in my decor palette, so I'm excited to work this little lady into the mix. (Yes, I anthromorphosize my things. It's a sickness.)
Since it's a really nicely curated antique store and I want people to buy their stuff so they can stay in business, I'm going to spill the beans: Michelle's Antiques Etc.
Oh the carving details... *sigh of content*... Well, I'm going to go fill a few nail holes that resulted from this little adjustment!
Find anything neat this weekend?
Pretty Small Things: deer bust and textile
2012-03-26T07:00:00-07:00
Jennifer Bewerse
Finds|
Comments
Category:
Finds
3.22.2012
DIY Photo to Canvas Transfer
How many times will I start a blog with "this has been something I've been meaning to try for a long time from my DIY Projects to Tackle Pinterest board"? I'm sure it will be many more times. Sorry in advance - but not really because it's kind of super fun :)
I saw this adorable photo transfer technique on A Beautiful Mess a few weeks ago and just knew I had to go for it. I'm in constant awe of how simple yet thorough Elsie's tutorials are! Basically you use Gel Medium to transfer an image you've printed onto canvas! So it's like a painting! Any image you want!!! Visit A Beautiful Mess here for the full tutorial.
I chose three images and they all turned out pretty dang well if I do say so myself. The picture above is from when I made DIY Felt Coasters. That one below is of my cats. Of course. I know you're shocked I decided to transfer a photo of my cats.
I did all of my pictures in black and white for continuity, but I'm certain color would look amazing too. You could print patterns or anything really - what a great way to make your own version of this art wall (scroll down to the 4th image).
This picture of me hugging Mr. Giraffe was the only one that didn't turn out so well. All of the pictures have some spots that rubbed off/didn't transfer, but I don't mind because it gives them a vintagey look. Unfortunately this one rubbed off all over my face and ended up with a lot of ripples. I quickly learned that you shouldn't be afraid to really smooth out your paper (you'll see what I mean if you look at the tutorial).
One important thing to remember: the image goes on backwards! You don't have to worry about it for most pictures, but for pictures with words (like the coaster picture which says "I Like You" on it) make sure to print the image in reverse so the transfer will look right. You'll also notice that the canvas looks a little more yellow than the paper version of the image. I can't really tell when the canvas is by itself, but when you hold them next to each other it's noticeable - just FYI.
Here are all three together! I'm going to find some cool way to frame them together as a cute little set for the hallway.
Totally a project worth trying and one that I'm going to do again. Easy, cheap, and highly recommended. The gel medium is the most expensive part, but you'll have plenty left over to do more with it = bang for your buck. You think you might go for it?
UPDATE:
Kristen from Disdain & Dismay shared two really helpful tips that I just had to add to this post:
"You can also do this with Mod Podge and Elmer's glue instead of gel medium. Coat your canvas in Elmer's glue, let it dry, then coat [your canvas] with Mod Podge. While the MP is still wet, press your print facedown onto the canvas. Let it dry again, then gently wet and peel off the paper. A little cheaper than the gel medium, and for me at least, it worked just as well.
You can also this exact same technique to print onto (unfinished) wood."
Photo transfer to wood - ohmygoshsoexcited! Thank you Kristen!!! PS She shared the tutorial where she first saw this alternative technique here.
I saw this adorable photo transfer technique on A Beautiful Mess a few weeks ago and just knew I had to go for it. I'm in constant awe of how simple yet thorough Elsie's tutorials are! Basically you use Gel Medium to transfer an image you've printed onto canvas! So it's like a painting! Any image you want!!! Visit A Beautiful Mess here for the full tutorial.
I chose three images and they all turned out pretty dang well if I do say so myself. The picture above is from when I made DIY Felt Coasters. That one below is of my cats. Of course. I know you're shocked I decided to transfer a photo of my cats.
I did all of my pictures in black and white for continuity, but I'm certain color would look amazing too. You could print patterns or anything really - what a great way to make your own version of this art wall (scroll down to the 4th image).
This picture of me hugging Mr. Giraffe was the only one that didn't turn out so well. All of the pictures have some spots that rubbed off/didn't transfer, but I don't mind because it gives them a vintagey look. Unfortunately this one rubbed off all over my face and ended up with a lot of ripples. I quickly learned that you shouldn't be afraid to really smooth out your paper (you'll see what I mean if you look at the tutorial).
One important thing to remember: the image goes on backwards! You don't have to worry about it for most pictures, but for pictures with words (like the coaster picture which says "I Like You" on it) make sure to print the image in reverse so the transfer will look right. You'll also notice that the canvas looks a little more yellow than the paper version of the image. I can't really tell when the canvas is by itself, but when you hold them next to each other it's noticeable - just FYI.
Here are all three together! I'm going to find some cool way to frame them together as a cute little set for the hallway.
Totally a project worth trying and one that I'm going to do again. Easy, cheap, and highly recommended. The gel medium is the most expensive part, but you'll have plenty left over to do more with it = bang for your buck. You think you might go for it?
UPDATE:
Kristen from Disdain & Dismay shared two really helpful tips that I just had to add to this post:
"You can also do this with Mod Podge and Elmer's glue instead of gel medium. Coat your canvas in Elmer's glue, let it dry, then coat [your canvas] with Mod Podge. While the MP is still wet, press your print facedown onto the canvas. Let it dry again, then gently wet and peel off the paper. A little cheaper than the gel medium, and for me at least, it worked just as well.
You can also this exact same technique to print onto (unfinished) wood."
Photo transfer to wood - ohmygoshsoexcited! Thank you Kristen!!! PS She shared the tutorial where she first saw this alternative technique here.
Category:
DIY
3.21.2012
Grad Housing Apartment Tour
Tim and I have been living in our white box grad housing apartment for 8 months now, so I figure it's time for a full tour. I've shared all of the rooms as I've made progress, but I really wanted to put it all in one place for fun. Here we go!
PS if you want to start at the beginning, check out all of the before pictures here.
Living Room
The living room is probably the biggest transformation. Check out more before and after pictures here!
Bedroom
Yep, there's more - check out other bedroom pictures here.
Infamous Back Room
Boy was this room a doosey. If you want to experience the journey here are the posts in order (PS this one has all of the other pretty reveal pictures): 1 | 2 | 3 | 4 | 5 | 6 | 7 | 8 | 9
Bathroom
Decorating a renter's bathroom is so tricky. More pictures of what I did here.
Hallway
Hey, when you live in a smalllll apartment like mine, the hallway totally gets its own reveal! Another tricky space, but I love how this one turned out. If only I had natural light for the pictures... More pics here :)
Porch
Another absolute favorite space of mine, the porch. For you diehard insideways readers - no this picture doesn't have Mr. Giraffe. Oh the price of constantly evolving decoration. You can look at him here and here though. Oh and more porch pictures are here.
And that's it folks. No kitchen. I mean we have a kitchen, but it's just an apartment kitchen full of our stuff. Unless you like purple/fleshy/baige cabinets there's really nothing to see there :)
So would you believe that we're looking for a new apartment? Since Tim and I both work from home a lot we're in desperate need of a little more space. This will really be it for reveals until we find one (fingers crossed SO HARD), but I'm sure there will be little apartment tweaks to share in the mean time.
Does anyone else wish teleportation had been invented so you could all come over here for a proper party? No? Just me? Don't be shy, I know you want to teleport on over ;)
Category:
Reveal
3.20.2012
4 Tips for Browsing Craigslist
Craigslist pictures are generally crappy, so I'm using pictures of my cats on this post. Just so you know...
1. Download an image preview plugin: I've said this in a previous CL tips post, but this is just so SUPER important that I'm going to post it again. There is no way you're going to be able to be persistent and really dig into craigslist by clicking on every link to every title that sounds interesting. Instead, cruise through craigslist listings with an image plugin - I use this one. This plugin will show all of the pictures for each ad right below the ad title on the search results page. So. very. handy.
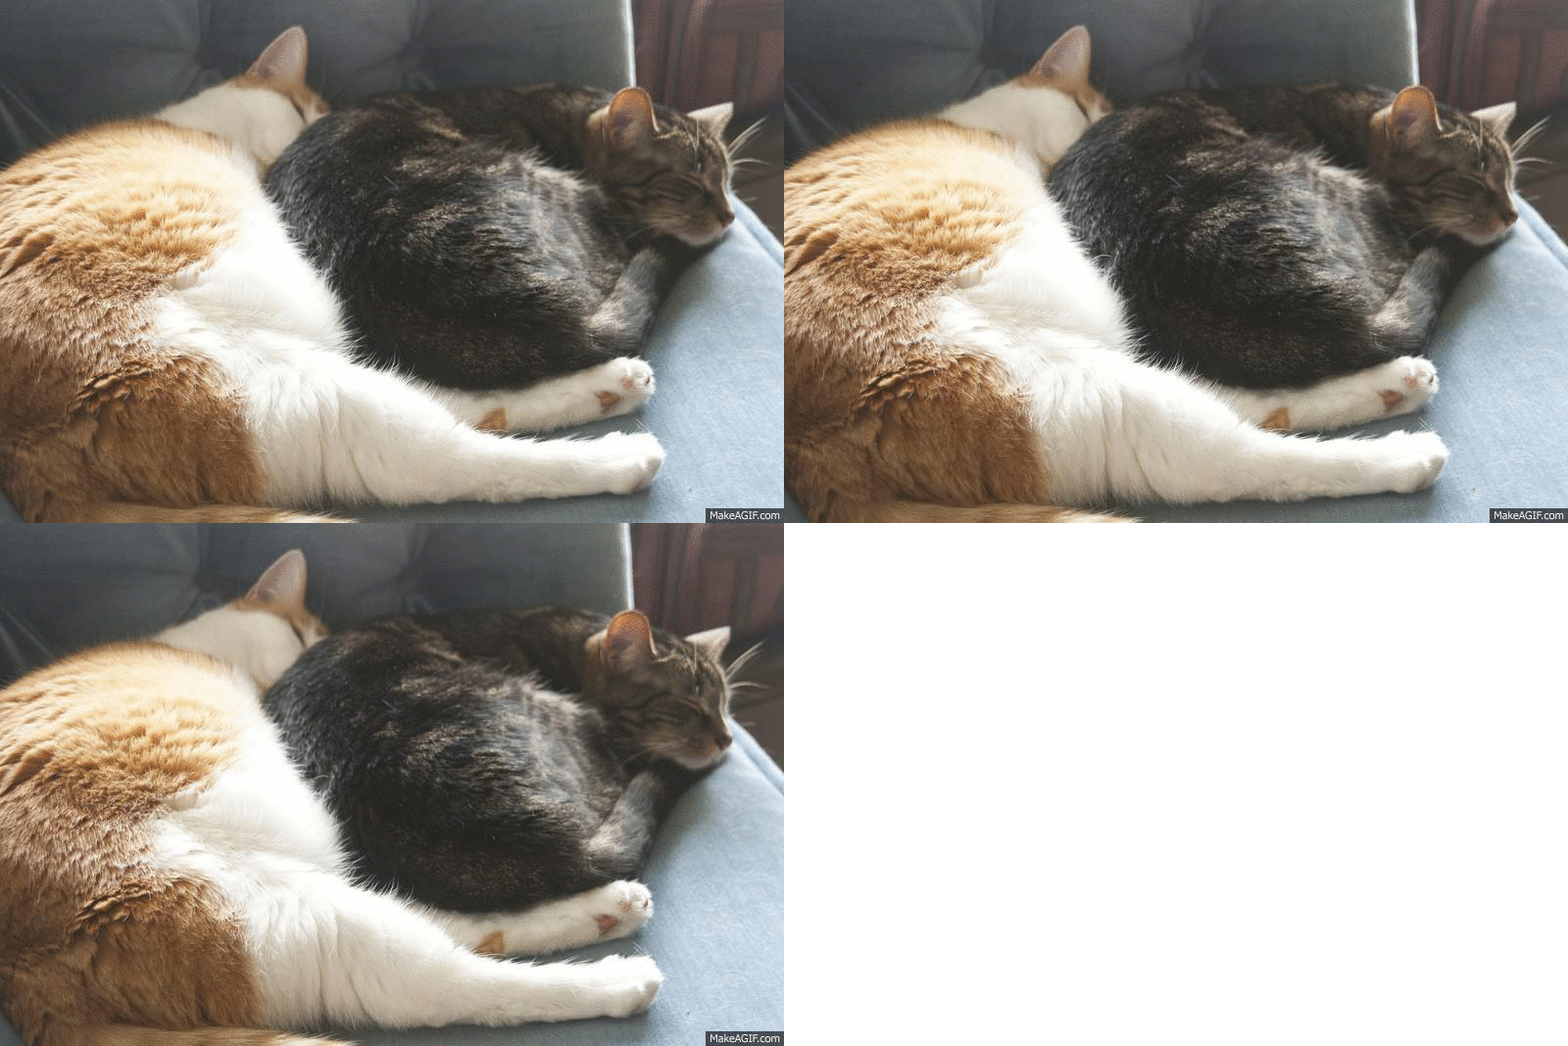
And because I can, here's an animated gif of my cats sleeping. Yes, I'm that big of a loser.
Anyone else have some tips I missed? I'd love to know how you find your craigslist treasures :)
Yep.
Ok SO, longtime insideways readers are very familiar with my adoration of craigslist. A majority of my furniture is from craigslist and I used to write a blog series all about furniture I saw while browsing called Homeless Housewares.
Even though I love CL, I'll admit that it's a pain in the butt to browse. It doesn't have to be! Here are some of the ways I score great finds on craigslist.
1. Download an image preview plugin: I've said this in a previous CL tips post, but this is just so SUPER important that I'm going to post it again. There is no way you're going to be able to be persistent and really dig into craigslist by clicking on every link to every title that sounds interesting. Instead, cruise through craigslist listings with an image plugin - I use this one. This plugin will show all of the pictures for each ad right below the ad title on the search results page. So. very. handy.
2. Find your key words: I have a couple of go-to search words that always seem to yield pretty wares. When I'm in the mood for CL browsing I always search rug, wicker, rattan, and crochet. (That's how I found Mr. Giraffe.) Avoid expensive words like "antique" or specific design industry type words in favor of material types like "wicker" or basic furniture like "side table."
(Madeline sleeps like such a proper cat. Maggie... doesn't.)
3. Use search filters: If you're browsing to buy and would never spend more than $200, don't torture yourself! Use CL's min and max price ranges to your advantage. Another way to weed out pesky posts is to look for sales by-owner only (another CL filter). Often, dealers will post the same ad over and over, which clogs up your feed and is generally annoying.
4. Pick a category: If you're browsing for inspiration or fun, don't be afraid to just look through a broad category like "furniture" or even "for sale." Sure you'll see a lot of stuff that's boring, but that's also the easiest way to run across that crazy one-of-a-kind thing you never would have thought to search for. Fun!
And because I can, here's an animated gif of my cats sleeping. Yes, I'm that big of a loser.
Anyone else have some tips I missed? I'd love to know how you find your craigslist treasures :)
4 Tips for Browsing Craigslist
2012-03-20T13:17:00-07:00
Jennifer Bewerse
How To|
Comments
Category:
How To
3.19.2012
Pretty Small Things: ornate details
It's been way too long since I've had a good day for thrifting and boy have I missed it! In the mean time I've been finding little moments to sneak away here and there, so I thought it might be nice to share the goods with you this afternoon.
I've been on the hunt for doilys for a while. Unfortunately I'm very very picky about how they look - not too white, not too dense, not too thick - so I don't see many I like. I was so so happy to find this 10 inch(!) doily for only $0.25!!
I'm also constantly on the hunt for little trays. They're so convenient for your bedside, bathroom, or little surfaces that aren't used often. But again, I'm super picky about how they look - not too modern, not too big, preferably wood, semi-neutral colors. Well this tray? I'm in love with this tray.
Only $10! Look at the carving details!
I also picked up a 8x10 oval picture frame for $2. Oval frames are usually pretty hard to find or expensive, so I snatched this one up as soon as I saw it. I pretty much hate the finish of it right now, but with a little paint it's going to be a beauty.
Have you found anything thrifty lately? Please share - I'd love to see your treasures!
Pretty Small Things: ornate details
2012-03-19T11:04:00-07:00
Jennifer Bewerse
Finds|
Comments
Category:
Finds
Subscribe to:
Posts (Atom)